Understanding the Problem

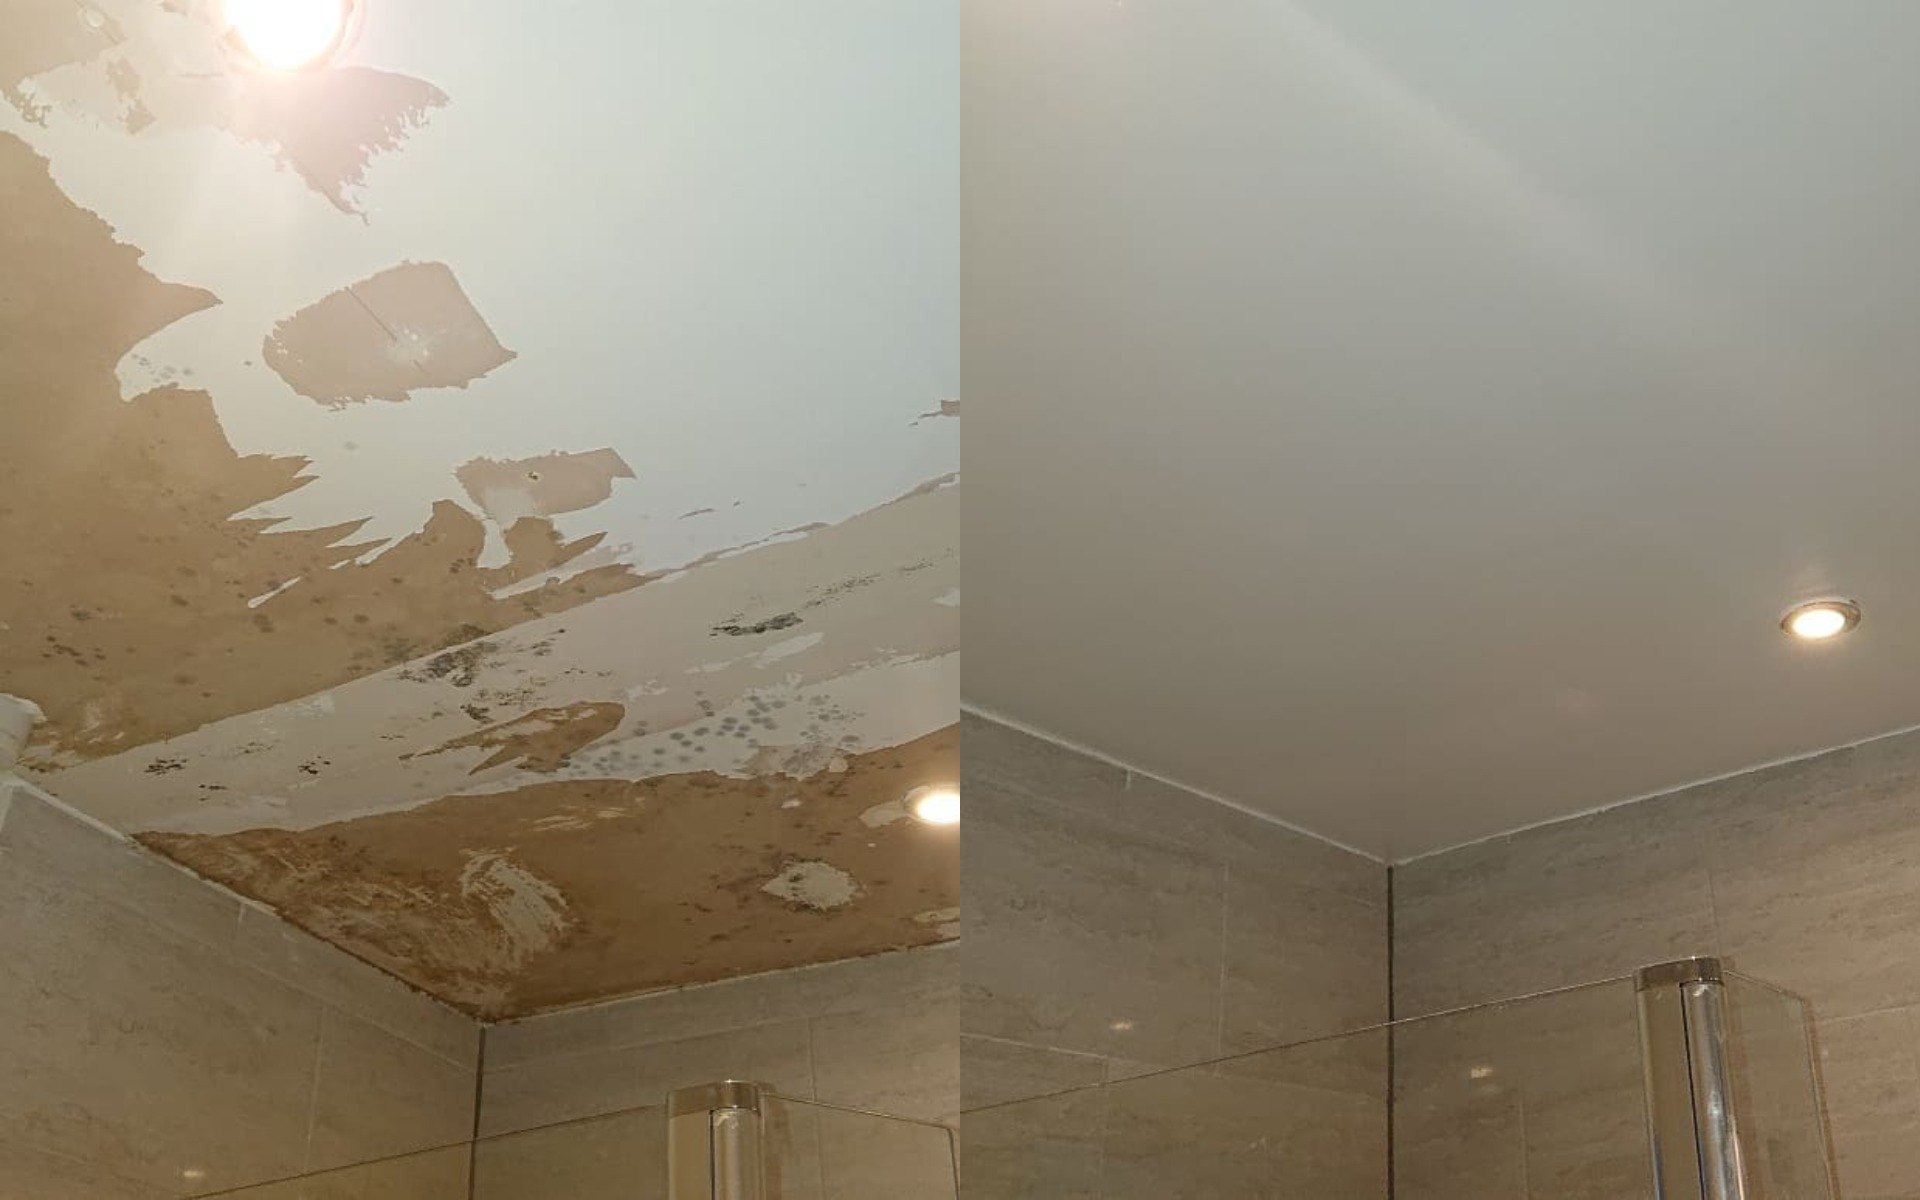
Peeling paint in bathrooms is a common problem, and it can be frustrating to deal with. But before you start painting, it’s important to understand why the paint is peeling in the first place. By addressing the root cause, you can ensure a long-lasting and beautiful finish.
Causes of Peeling Paint
The most common culprits behind peeling paint in bathrooms are moisture and humidity. Bathrooms are naturally humid environments due to showers, baths, and even just the condensation from hot water. This excess moisture can seep into the walls and cause the paint to lift and peel.
- Moisture: Water can penetrate the paint and the underlying layers, causing the paint to loosen and detach. This is especially true if the bathroom doesn’t have proper ventilation.
- Humidity: High humidity levels can create a breeding ground for mold and mildew, which can further weaken the paint and cause it to peel.
- Improper Preparation: If the walls weren’t properly prepared before painting, the paint may not adhere properly, leading to peeling. This includes cleaning the surface, filling in cracks, and sanding for a smooth finish.
Identifying the Underlying Cause
To effectively address peeling paint, you need to pinpoint the root cause. Here are some tips:
- Inspect the Walls: Look for any signs of water damage, such as stains, discoloration, or soft spots. This could indicate a leak or moisture problem.
- Check for Mold: If you see black or green spots on the walls, it’s likely mold. Mold can thrive in humid environments and can weaken the paint.
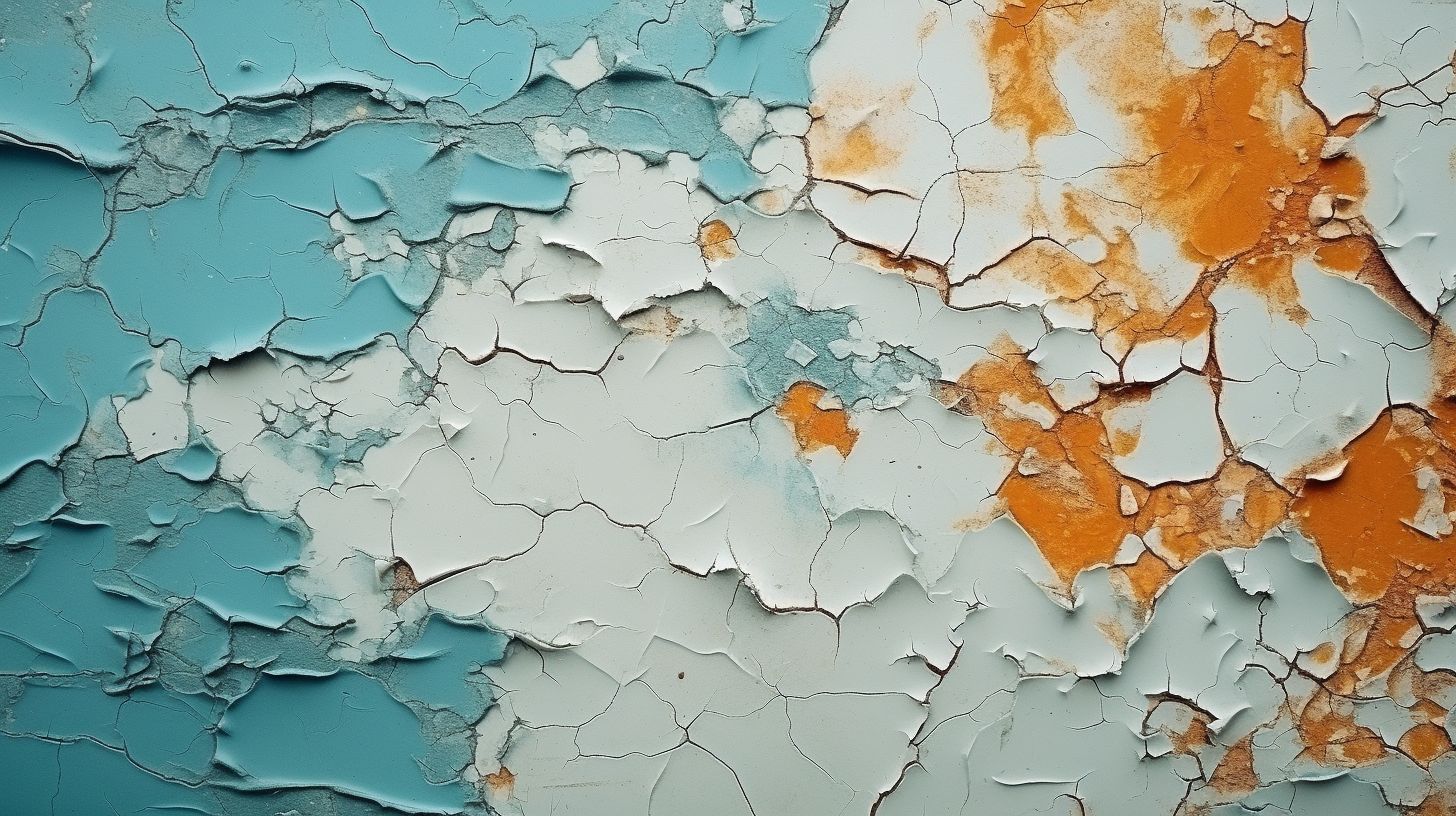
- Examine the Paint: Is the peeling paint flaky, or is it coming off in large sheets? This can give you clues about the underlying cause. For example, flaky paint may indicate a moisture problem, while paint coming off in sheets might suggest improper preparation.
Preparing for the Project: Painting Over Peeling Paint In Bathroom

Before you start wielding your paintbrush, it’s essential to prepare your bathroom for a successful painting project. This includes clearing the space, protecting surfaces, and ensuring proper ventilation for a safe and efficient paint job.
Preparing the Bathroom
- Clear the Area: Remove all items from the bathroom that could get in the way or be damaged by paint splatters. This includes furniture, rugs, towels, toiletries, and anything else that needs to be moved. Remember to keep these items in a safe place away from the painting area.
- Cover Surfaces: Protect surfaces not being painted with drop cloths, plastic sheeting, or painter’s tape. Cover the floor, countertops, and any fixtures you don’t want to paint. Be sure to use painter’s tape carefully to prevent paint from bleeding onto surfaces you want to keep protected.
- Remove Loose Paint: Before painting, remove any loose or peeling paint with a scraper or putty knife. This will create a smooth surface for the new paint to adhere to. Make sure to wear appropriate safety gear, like a dust mask, to avoid inhaling paint chips.
- Clean the Surfaces: Thoroughly clean the bathroom walls and surfaces with a mild detergent and water. Allow the surfaces to dry completely before painting. This will remove dirt, grime, and grease that could interfere with paint adhesion. You can also use a de-greaser for stubborn stains.
Gathering the Tools and Materials
It’s crucial to have all the necessary tools and materials before you begin painting. This will ensure a smooth and efficient painting process.
- Paint: Choose a high-quality paint specifically designed for bathroom use. Look for a paint that is mildew-resistant and moisture-resistant. Choose a color that complements your bathroom decor and style.
- Paintbrushes and Roller: Select brushes and rollers appropriate for the size of your bathroom and the type of paint you are using. Use a brush for detailed work and a roller for larger areas. Make sure to clean your brushes and roller thoroughly after each use.
- Paint Tray and Liner: A paint tray with a liner will make it easier to pour and use paint. The liner will also prevent paint from spilling onto your work surface.
- Painter’s Tape: Use painter’s tape to mask off areas you don’t want to paint. This will help create clean lines and prevent paint from bleeding onto other surfaces. Remember to remove the tape carefully before the paint dries completely.
- Putty Knife: A putty knife is useful for scraping off loose paint and filling in any holes or cracks before painting.
- Sandpaper: Use sandpaper to smooth out any rough surfaces before painting. Sanding will create a smooth surface for the new paint to adhere to.
- Drop Cloths: Drop cloths are essential for protecting your floors and furniture from paint splatters. Choose a sturdy drop cloth that will not easily tear or move.
- Safety Gear: Always wear safety gear when painting, including a dust mask, gloves, and eye protection. This will protect you from paint fumes, skin irritation, and eye injuries.
Ventilation and Safety Precautions
Ventilation is crucial when painting, especially in a small space like a bathroom. Paint fumes can be harmful to your health, so it’s essential to have proper ventilation to prevent them from building up.
- Open Windows and Doors: Open all windows and doors in the bathroom to allow fresh air to circulate. This will help remove paint fumes and prevent them from building up.
- Use a Fan: If you don’t have good natural ventilation, use a fan to circulate air. Place the fan in a window or door to blow out fumes.
- Wear a Mask: Always wear a respirator mask when painting, especially in a poorly ventilated space. This will protect your lungs from inhaling paint fumes.
- Avoid Smoking: Do not smoke while painting or in the bathroom after painting. Paint fumes can be highly flammable, and smoking could cause a fire.
- Keep Children and Pets Away: Keep children and pets away from the painting area. Paint fumes can be harmful to their health, and spilled paint can be a hazard.
Painting Techniques
Now that you’ve prepared the bathroom surface, it’s time to tackle the actual painting! This section will guide you through the essential techniques for achieving a smooth and beautiful finish.
Removing Peeling Paint
Removing peeling paint is crucial for creating a solid foundation for the new paint. This process involves scraping, sanding, and potentially using a paint stripper.
- Scraping: Use a scraper with a sharp blade to remove loose and peeling paint. Apply gentle pressure to avoid damaging the underlying surface. Be careful around corners and edges to avoid scratching the surrounding area.
- Sanding: After scraping, sand the surface with fine-grit sandpaper to smooth out any rough edges or uneven areas. This will help ensure a smooth and even paint application.
- Paint Stripper: For stubborn or multiple layers of paint, consider using a paint stripper. Follow the manufacturer’s instructions carefully, as these chemicals can be harsh. Apply the stripper to the affected area, let it sit for the recommended time, and then scrape off the softened paint. Wear gloves and eye protection when working with paint stripper.
Priming the Surface
Priming is a vital step before applying new paint. It helps create a bond between the old and new paint, preventing the new paint from peeling or flaking. Primer also helps to seal the surface, creating a smooth and uniform base for the new paint.
A primer is like a foundation for your new paint. It ensures a smooth and durable finish.
Choosing the Right Paint, Painting over peeling paint in bathroom
Selecting the right paint for your bathroom is essential due to its high humidity and moisture levels.
- Acrylic Latex Paint: This is a popular choice for bathrooms due to its durability, moisture resistance, and easy cleanup. Acrylic latex paint dries quickly, allowing for multiple coats in a short amount of time. It is also available in a wide range of colors.
- Epoxy Paint: Epoxy paint is known for its extreme durability and resistance to moisture and chemicals. It is often used in areas with high traffic or exposure to harsh conditions. However, epoxy paint can be more difficult to apply and clean up than acrylic latex paint.
- Oil-Based Paint: Oil-based paint is known for its durability and high gloss finish. However, it takes longer to dry and can be more difficult to clean up than latex paint. It also emits strong fumes, so proper ventilation is crucial.
